After installing a fresh instance of OpenNebula, the next logical step for some users might be the creation of a Virtual Machine (VM) image. The OpenNebula project provides many ready-to-use appliances as part of its public marketplace, but sometimes you need to produce your own image for a specific purpose. In this post I will guide you through the process of creating a customized VM image ready for production. Ready, steady, go! 🙂
Creating a base VM image
The main tool we’ll use for this is called libguestfs, which is defined in its own website as a set of “tools for accessing and modifying virtual machine disk images”. More importantly for our purposes, these tools can also be used to create VM images.
Let’s install them by using one of these commands, depending on your Linux distribution.
For Fedora/RHEL/CentOS:
sudo yum install libguestfs-tools
For Debian/Ubuntu:
sudo apt-get install libguestfs-tools
The first step is to double-check all the possible VM images that we can create with libguestfs. To do so, let’s execute the following command to have a look at the full list of all base images available to us (in this example we will be working only with CentOS 7.7):
virt-builder –l
If we were only interested at this stage in creating a simple CentOS VM image, we could do that by using the following command, and it would create a local file called centos-7.7.qcow2 containing our new image:
virt-builder centos-7.7 --format qcow2
After this, a new CentOS VM image has been created but it’s not ready yet for OpenNebula. For that, we need to take a crucial step: to install the context packages inside the VM.
To make sure that the new VM comes with all the necessary packages already preinstalled, we can create a local file in our computer called script.sh, which will be executed inside our VM image at the time we generate it.
We need this script to contain the context that turns a generic CentOS VM image into an OpenNebula-ready CentOS VM image:
#!/bin/bash

curl -L https://github.com/OpenNebula/addon-context-linux/releases/download/v5.10.0/one-context-5.10.0-1.el7.noarch.rpm

yum install -y epel-release

yum install -y one-context-[0-9]*el7*rpm

rm -f one-context-5.10.0-1.el7.noarch.rpm
With this file ready, now we can run virt-builder and pass this script as argument. This will create a CentOS VM images with the contextualization packages already installed inside:
sudo virt-builder centos-7.7 --format qcow2 --run script.sh
Now we have a generic CentOS VM image ready for OpenNebula! 😀

Setting up a gaming server
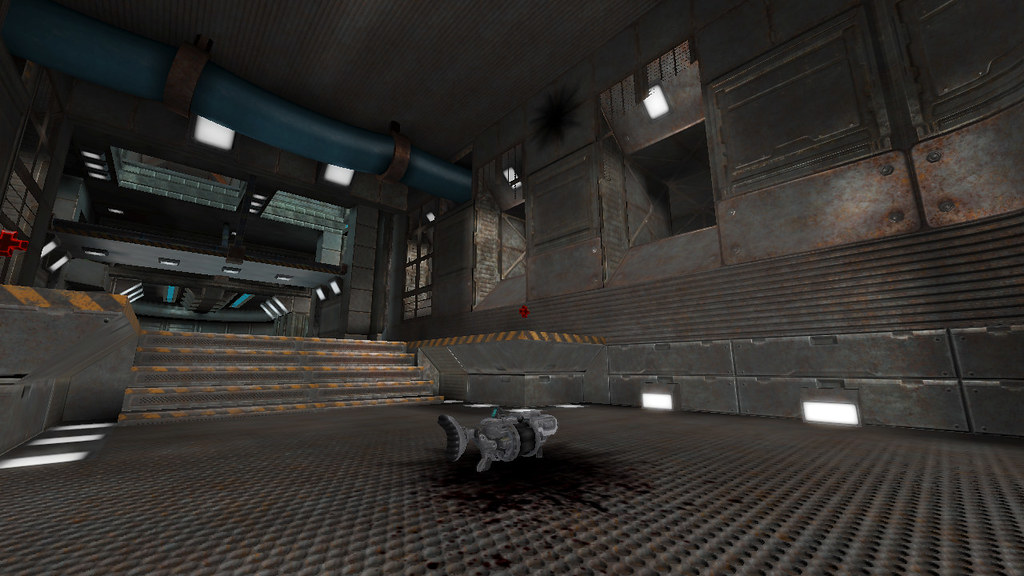
But what to do if we don’t want that VM image to be so generic? 😉 Let me introduce you to the wonders of Xonotic: based on a GPLv3 license, and first released in 2011, this well-known video game came to life after their creators joined forces to “create the best possible fast-paced open-source first-person shooter game”.
To prepare a VM image with a preinstalled Xonotic server, we just need to include a few additional lines into script.sh, the file we’ve used in the previous section to add the OpenNebula context to our CentOS VM image:
# Download Xonotic

wget https://dl.xonotic.org/xonotic-0.8.2.zip

# Install unzip to decompress the downloaded file

yum install -y unzip

# Decompress the game

unzip xonotic-0.8.2.zip

# Remove the downloaded file

rm -f xonotic-0.8.2.zip
With these changes in the script, we’ll get the game folder inside our VM image. Now all we need to do is get the Xonotic server properly configured. For this, we’ll follow the steps for a “Dedicated Server” described at the project’s documentation and—surprise, surprise—add some lines to our beloved script.sh 🙂 The files needed to set up a Xonotic server come with the game, from the main game directory (in our case /Xonotic/server/):
# Copy game executable (for Linux operating systems)

cp Xonotic/server/server_linux.sh Xonotic/

# Copy server.cfg to user profile (root)

mkdir /root/.xonotic

mkdir /root/.xonotic/data

cp Xonotic/server/server.cfg /root/.xonotic/data/

# Move game directory to user directory (root)

mv Xonotic /root/
With this configuration, we’d always be able to login to our VM at any point and launch the server manually by executing /root/Xonotic/server_linux.sh But what if we want the server to run automatically when the VM starts? A piece of cake! We just need to set up a service to make this happen. Let’s create a simple file called xonotic.service with the following content:
[Unit]

    Description=Xonotic Server Service

[Service]

    ExecStart=/root/Xonotic/server_linux.sh

[Install]

    WantedBy=default.target
With the option --copy-in file:destination, we can use virt-builder to copy xonotic.service into the /etc/systemd/system/ directory when generating the VM image. But before that, we just need to add some extra lines—this is the last time, I promise!—to script.sh:
# Give permissions

chmod 664 /etc/systemd/system/xonotic.service

# Reload systemctl to include this new service

systemctl daemon-reload

# Enable service (we don't start it)

systemctl enable xonotic.service
After this very last changes to the script, the command to create a CentOS-based OpenNebula appliance with a ready-to-use Xonotic game server would look like this:
sudo virt-builder centos-7.7 --format qcow2 --copy-in xonotic.service:/etc/systemd/system/ --run script.sh
Voilà! Of course, we can add many more configuration options to the virt-builder command, but this basic configuration will get the job done.
Now, time for you to give it a try and start creating you own customized OpenNebula VM images.
Enjoy and keep us posted!


0 Comments