Rancher is an open source software platform that enables organisations to deploy and manage container-based applications. Rancher supplies the entire software stack needed to manage containers in production using most of the commonly available container orchestration frameworks (Rancher Cattle, Docker Swarm, Kubernetes, Mesos).
Rancher has support for Docker Machine-based provisioning making it really easy to create Docker hosts on cloud providers. It creates servers, installs Docker on them, and configures the Docker client to talk to them. Using the Machine integration in Rancher, we can launch compute nodes directly from the Rancher UI.
Rancher recently has added support for docker-machine plugins, so it is possible to add Machine Drivers in order to create Docker hosts on any cloud providers.
This post will introduce Rancher and show how to launch OpenNebula Virtual Machines from the Rancher UI and provision them to run Docker compute hosts, which can then be used to run Docker containers. In the next steps we are going to install Rancher and use the OpenNebula docker-machine plugin to add virtual machine as hosts to Rancher environments.
Step 1 – Rancher Installation
Let’s first create a VM with docker, by using docker-machine
$ docker-machine create --driver opennebula rancher-server
Once the machine is created, we can install the rancher server
$ eval $(docker-machine env rancher-server)

$ docker run -d --restart=unless-stopped -p 8080:8080 rancher/server
After about a minute, your host should be ready and you can browse to http://rancher-server-ip:8080 and bring up the Rancher UI. If you deploy the Rancher server on a VM with access to the to the Internet, it’s a good idea to set up access control (via github, LDAP …). For more information regarding the Rancher installation (single node and HA setup and the authentication) you can refer to the official documentation
Step 2 – Adding OpenNebula Machine Driver
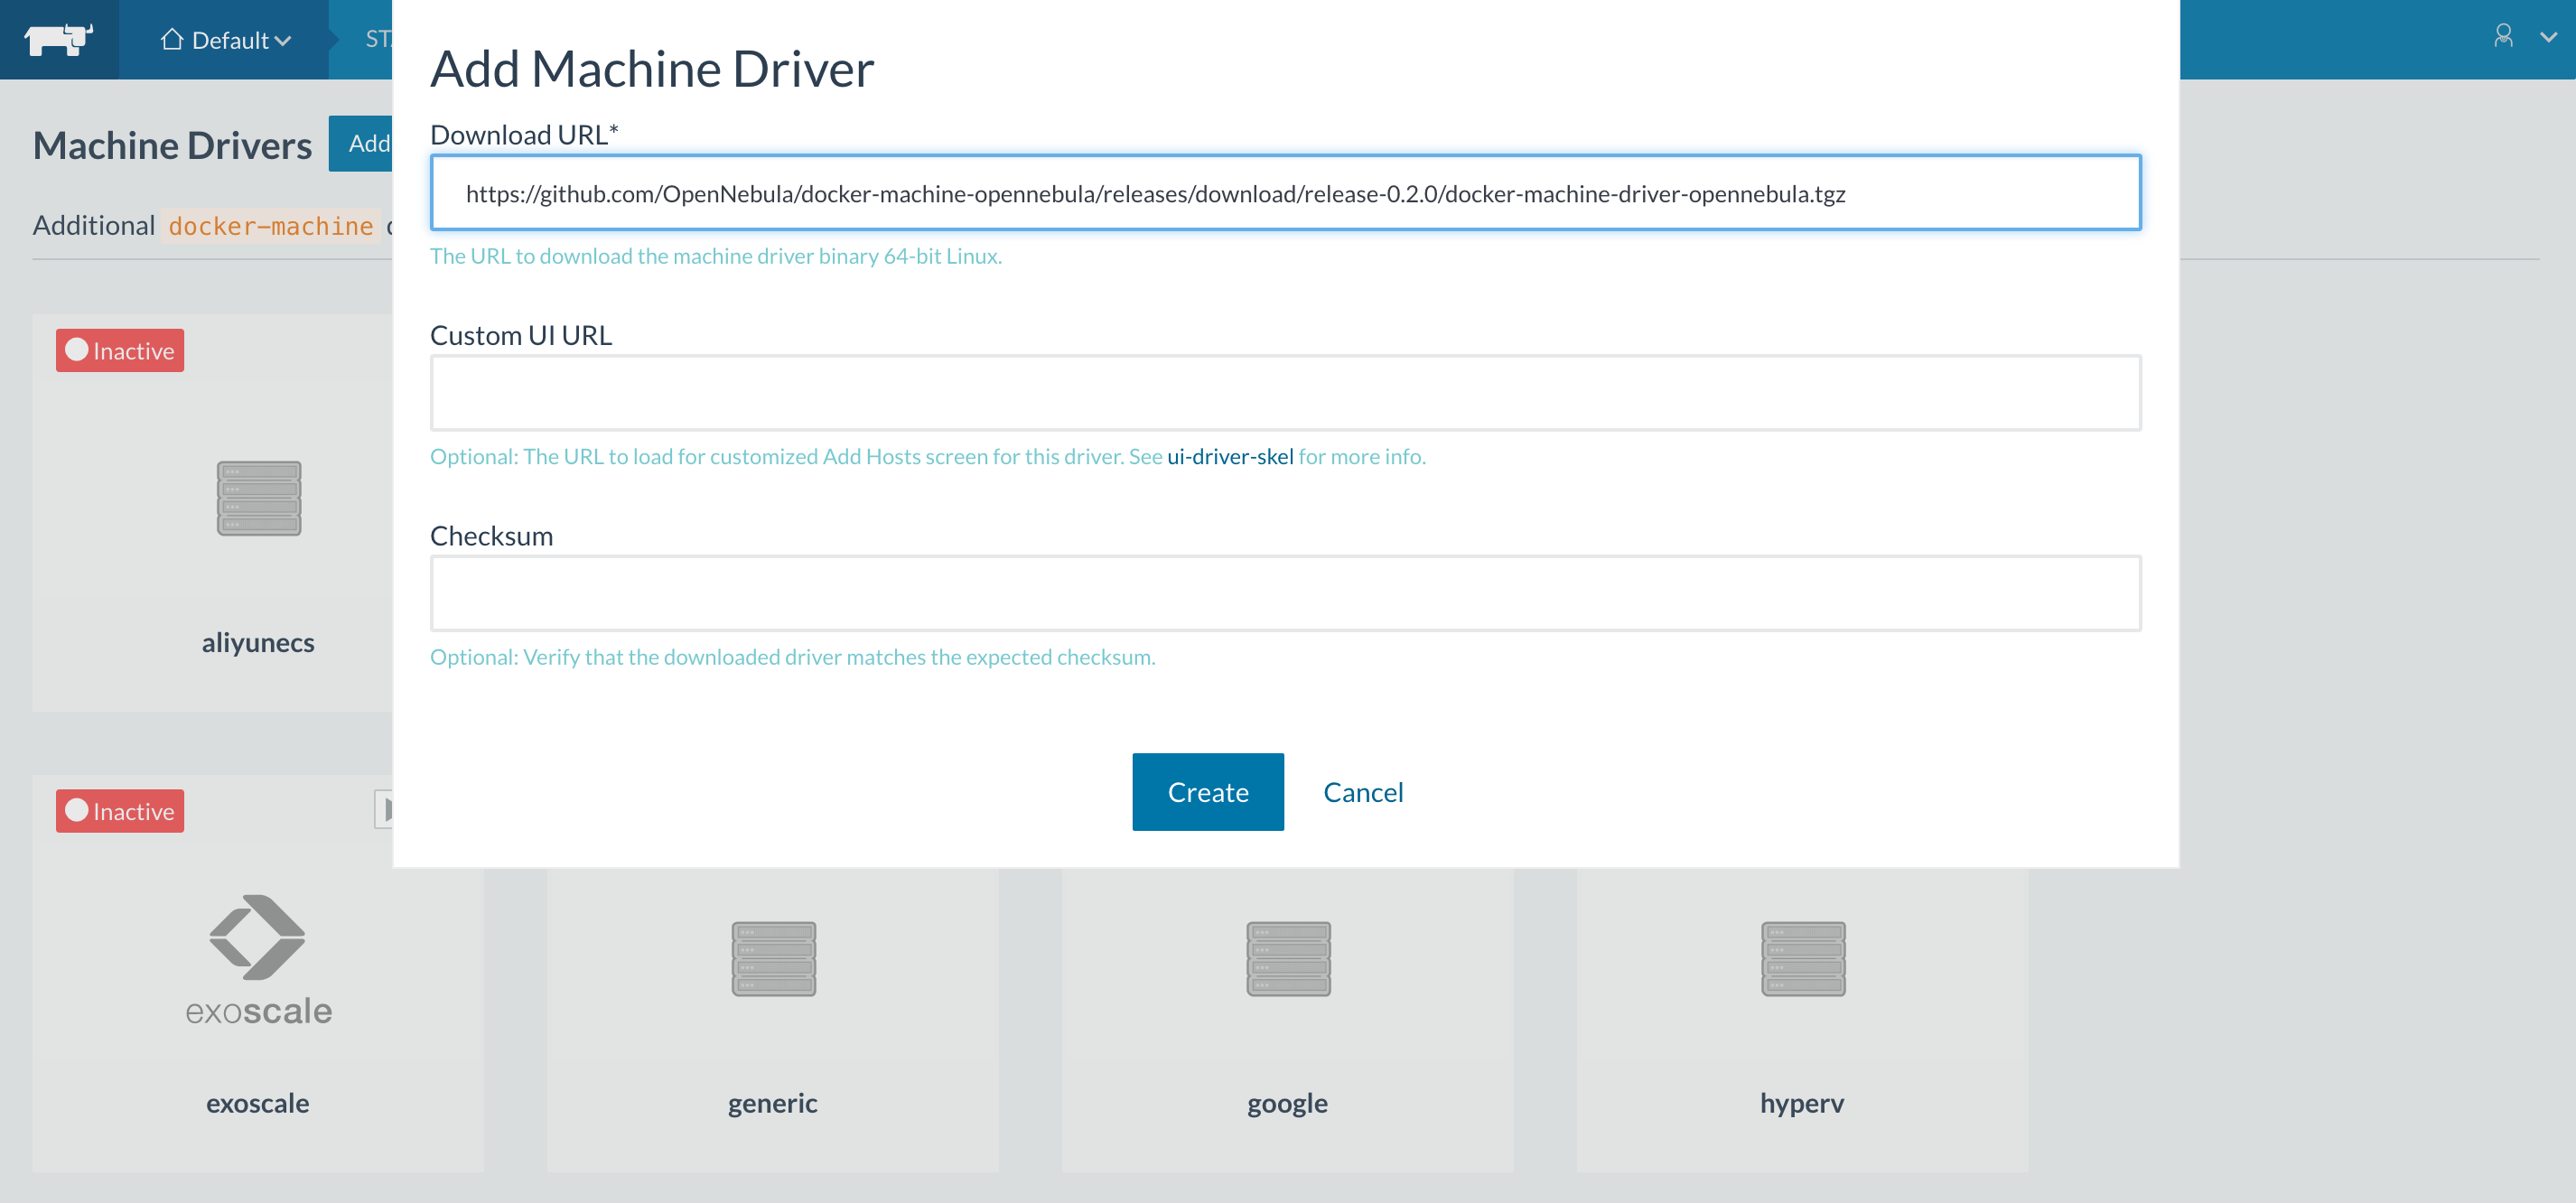
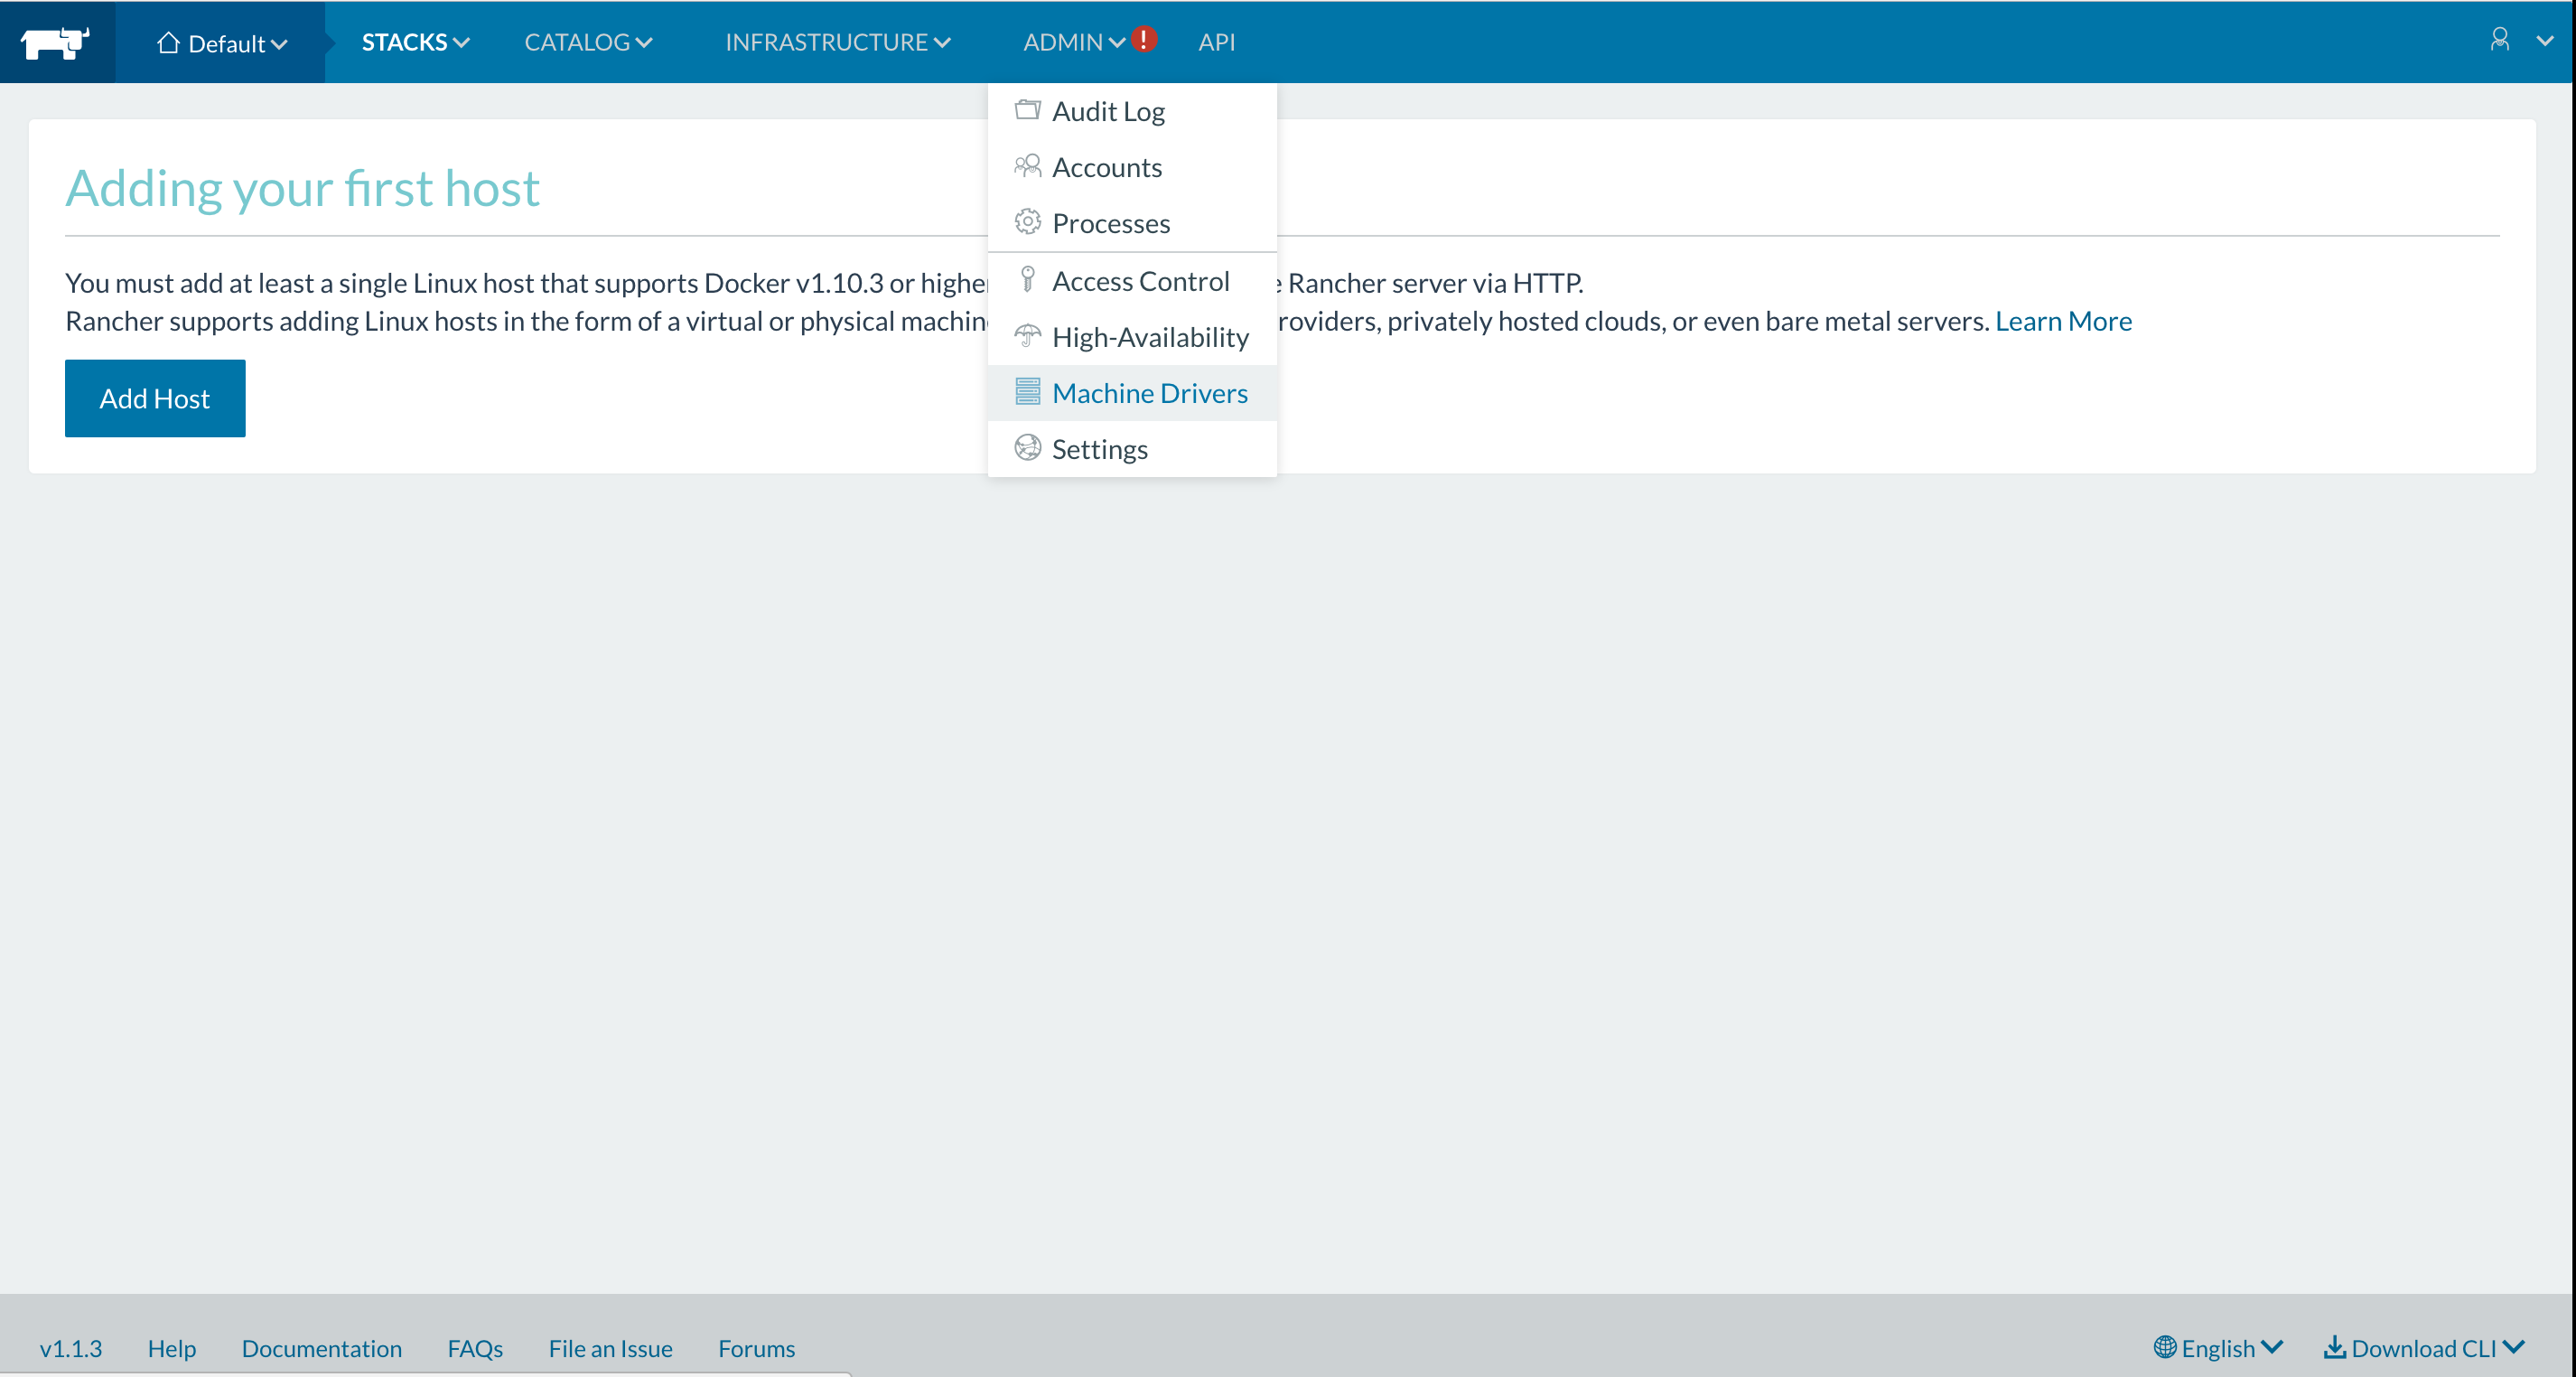
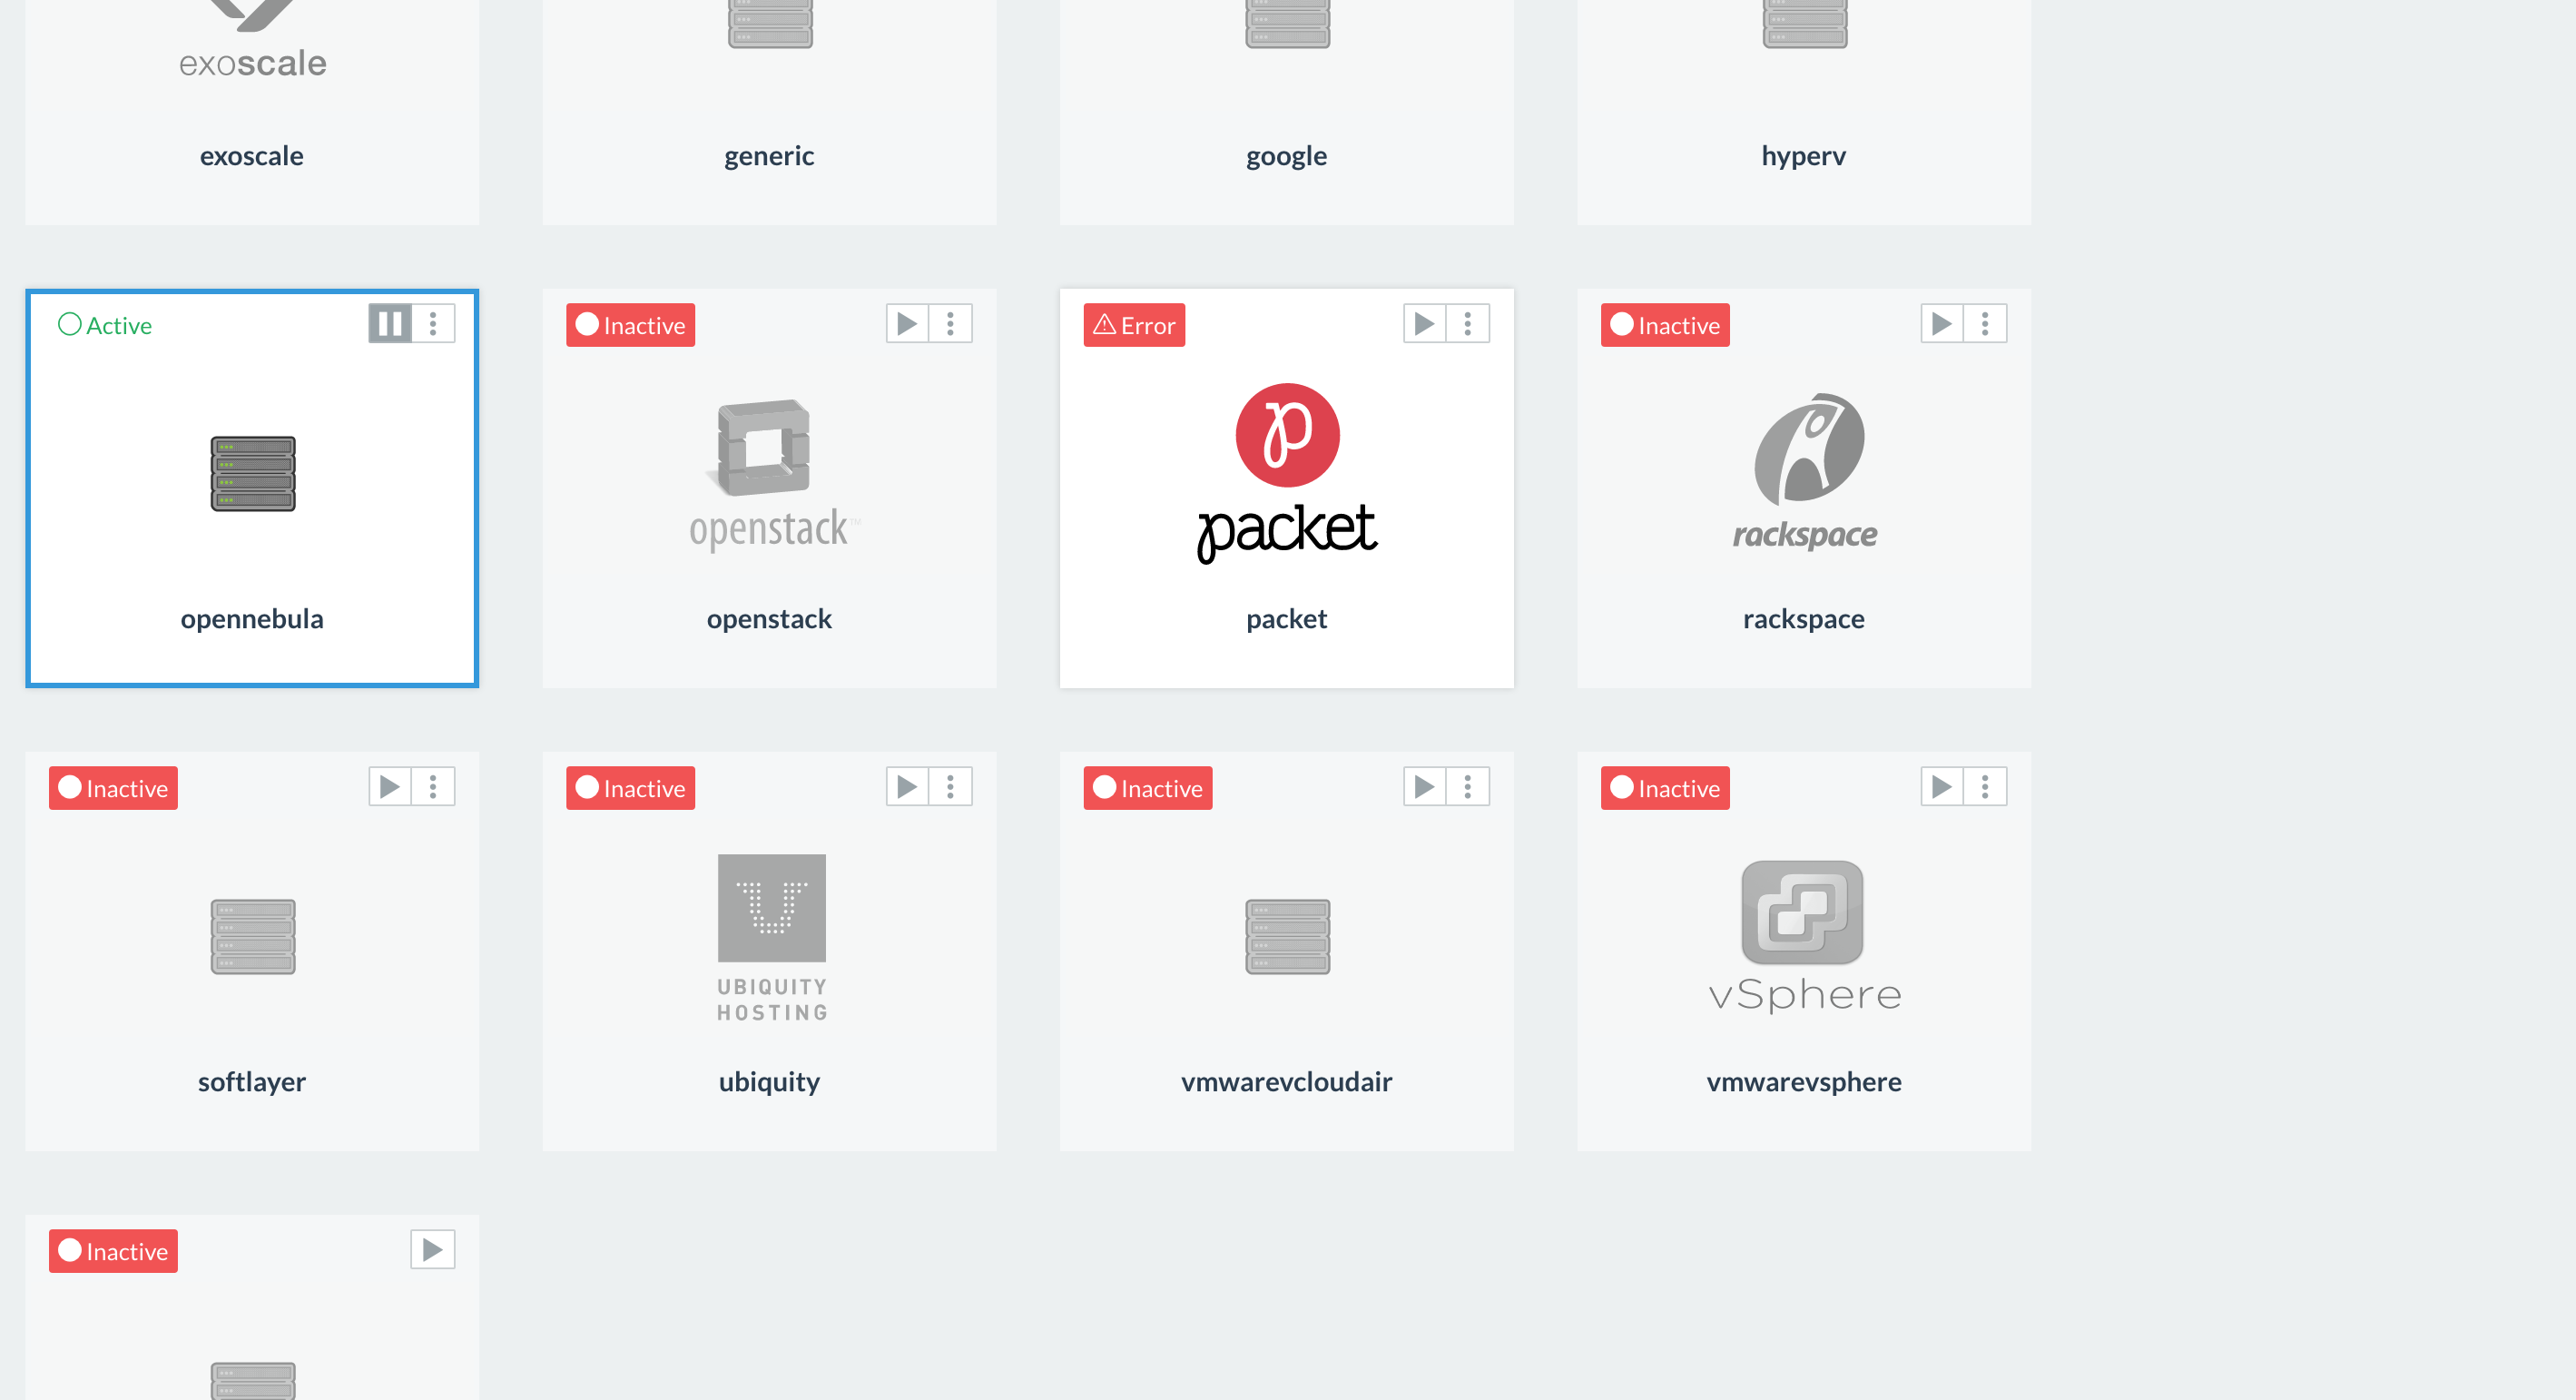
In order to add OpenNebula Virtual Machines as hosts to Rancher we need to add the docker machine plugin binary in the Admin Machine Drivers settings.
A Linux binary of the OpenNebula machine driver is available at https://github.com/OpenNebula/docker-machine-opennebula/releases/download/release-0.2.0/docker-machine-driver-opennebula.tgz.
Step 3 – Adding OpenNebula Hosts
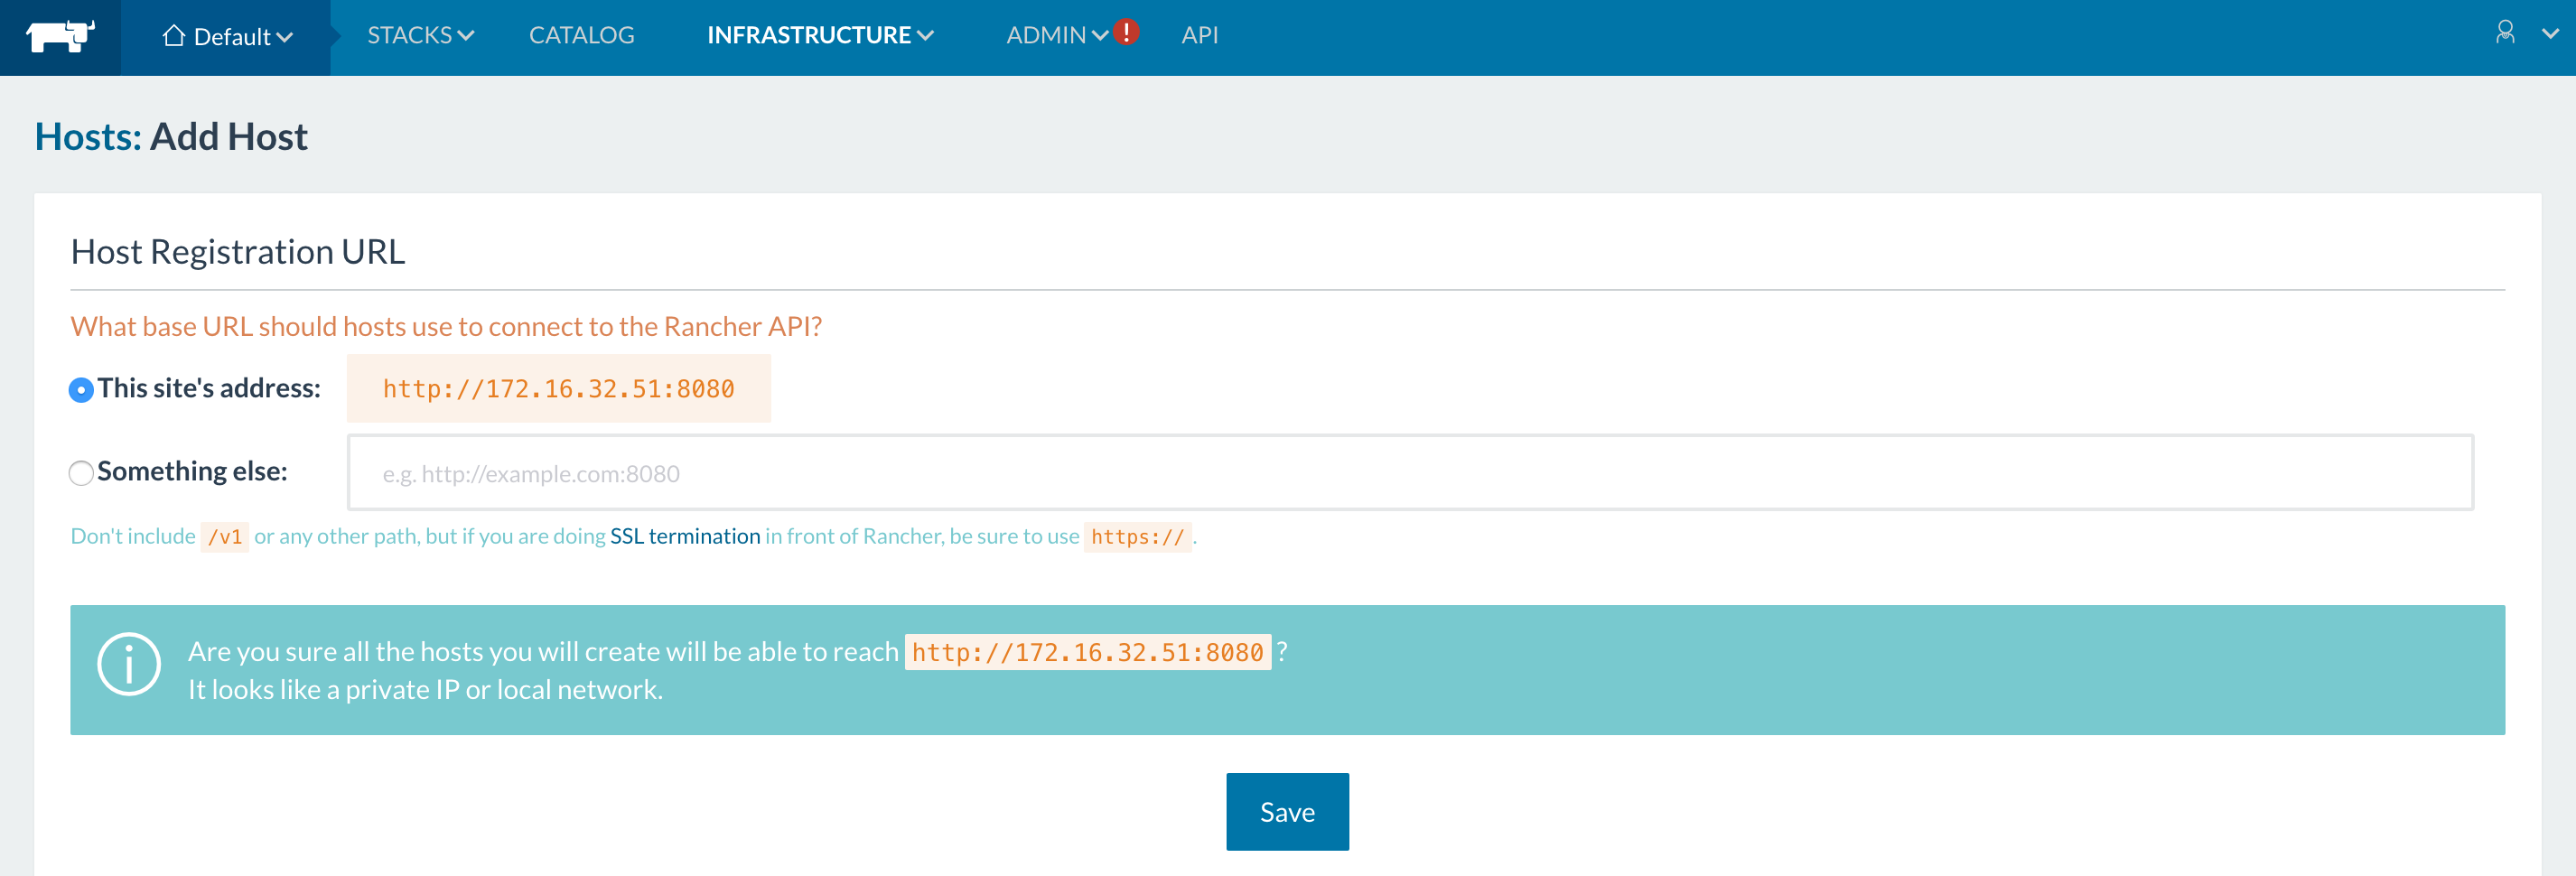
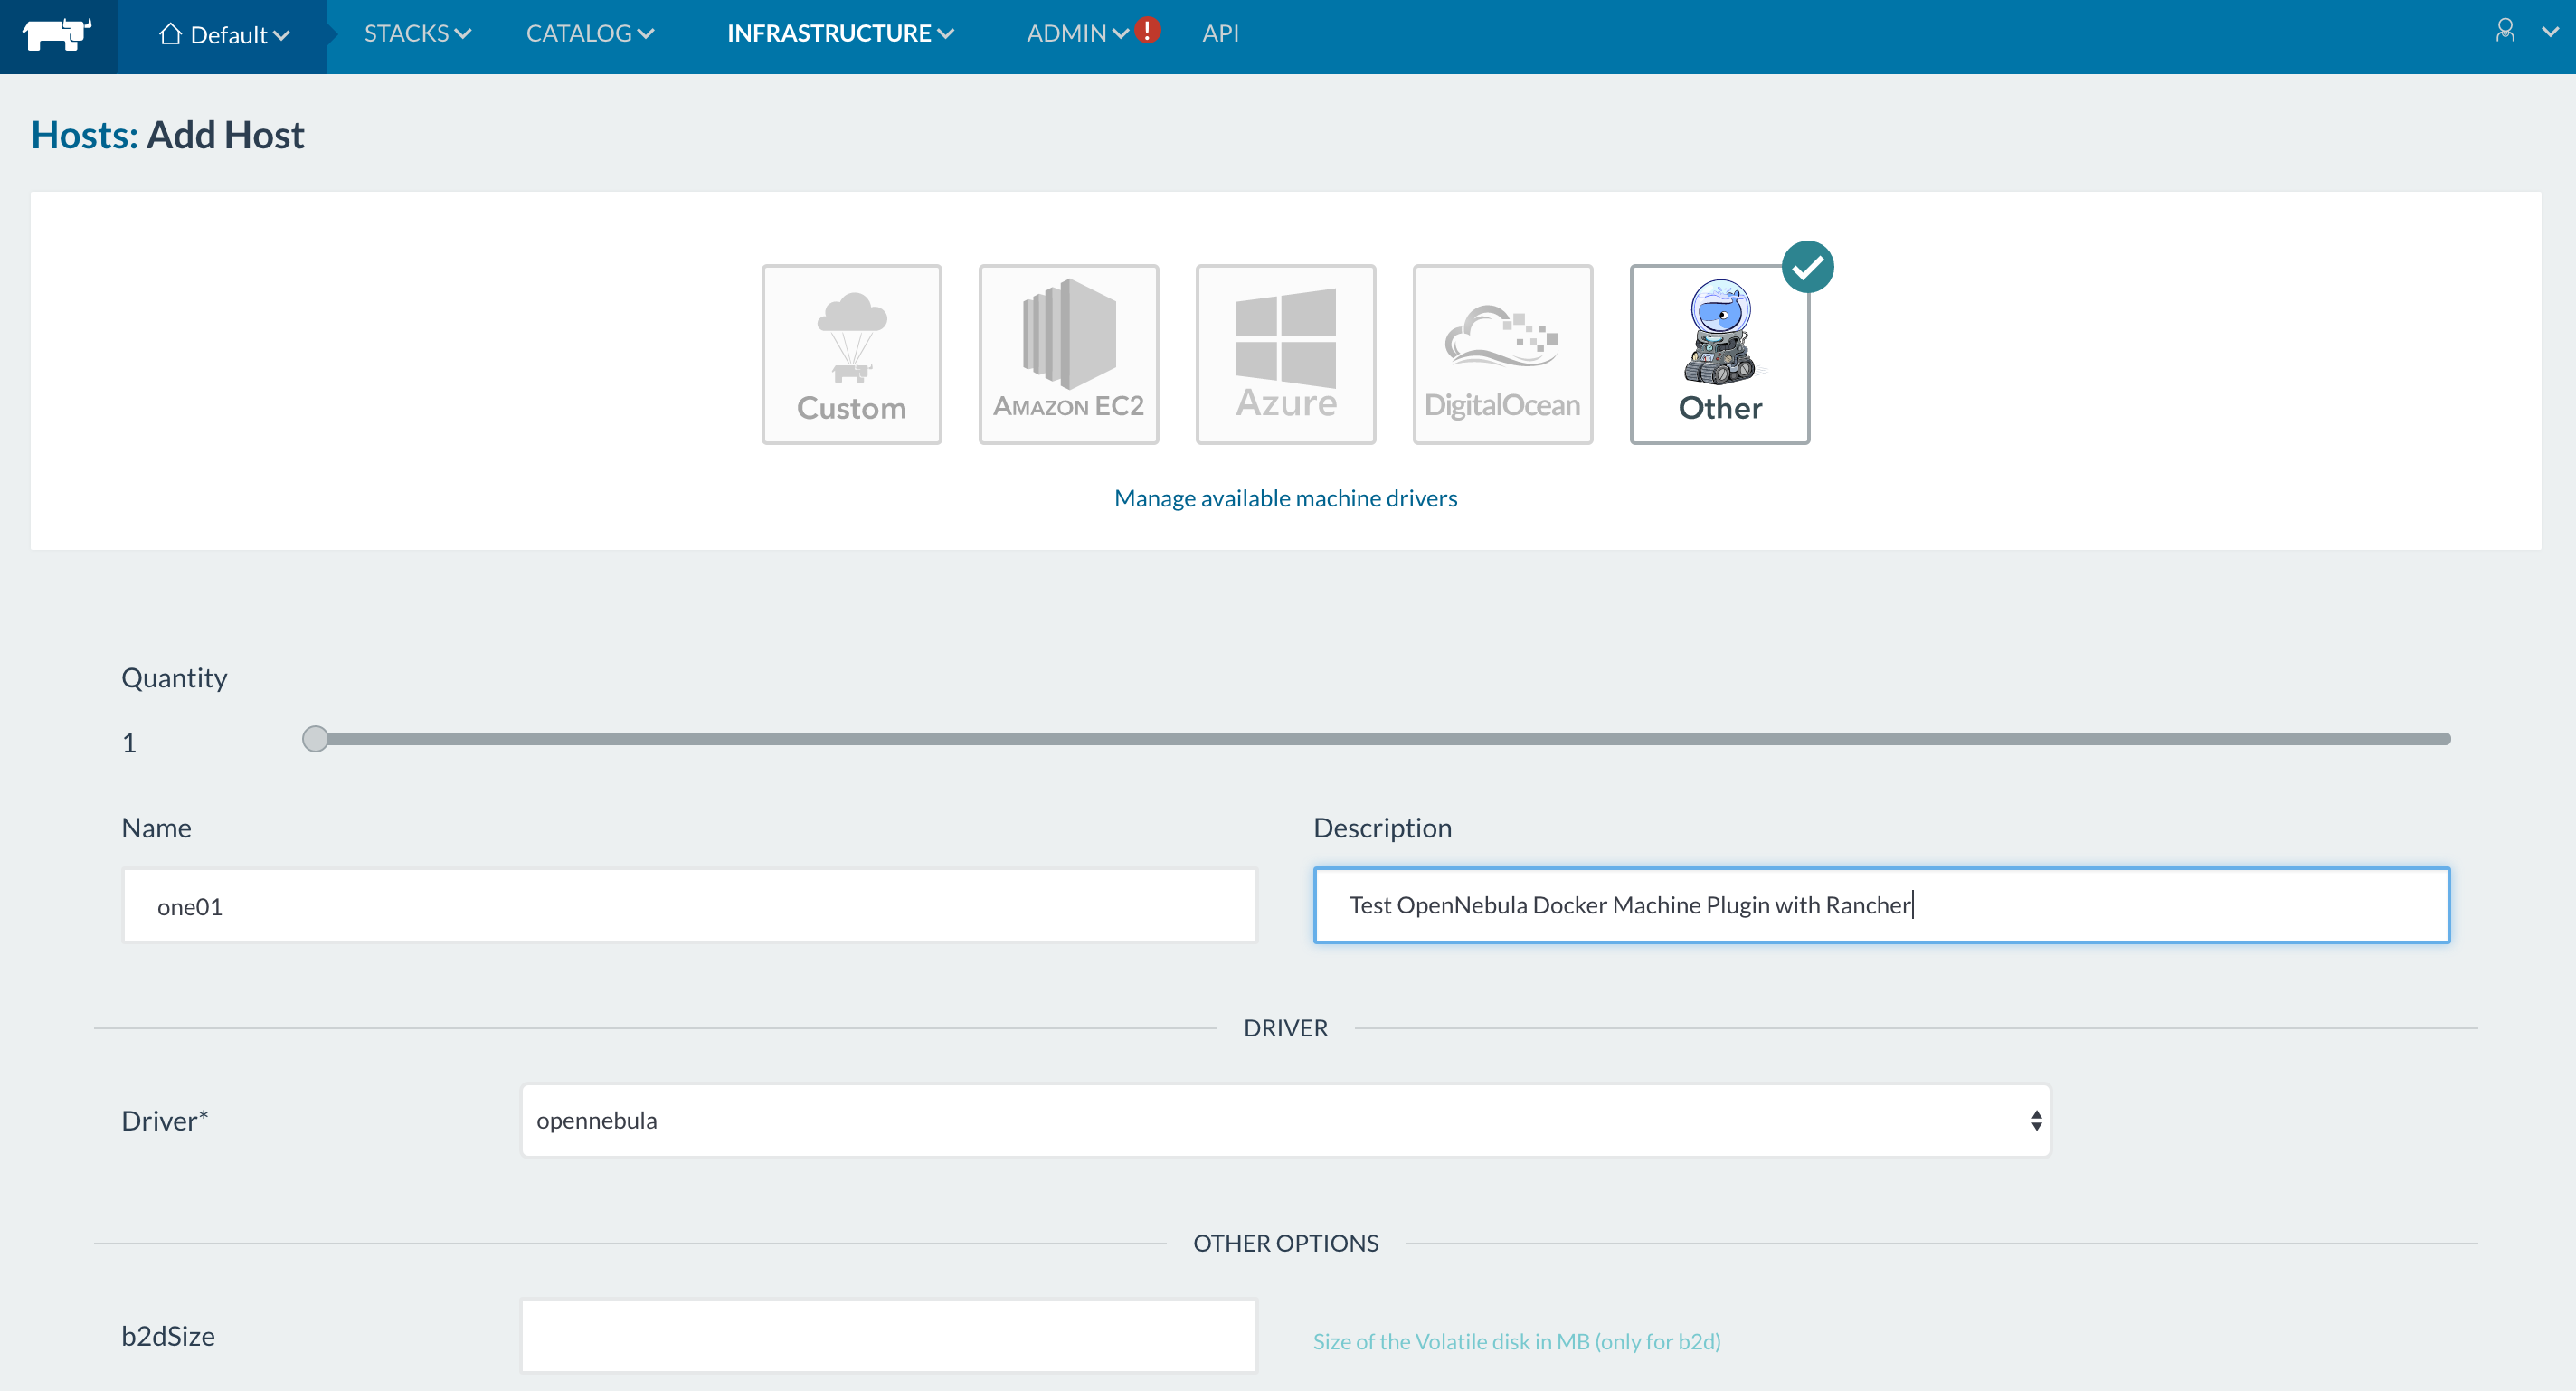
The first time adding a host, you will see a screen asking you to confirm the IP address your Rancher server is available on, i.e. where the compute nodes will connect.
Once you save the settings, you can proceed to create the first Rancher host.
Select the opennebula driver and insert at least the following options:
- Authentication: user, password
- OpenNebula endpoint: xmlrpcurl (http://one:2633/RPC2)
- ImageID
- NetworkID
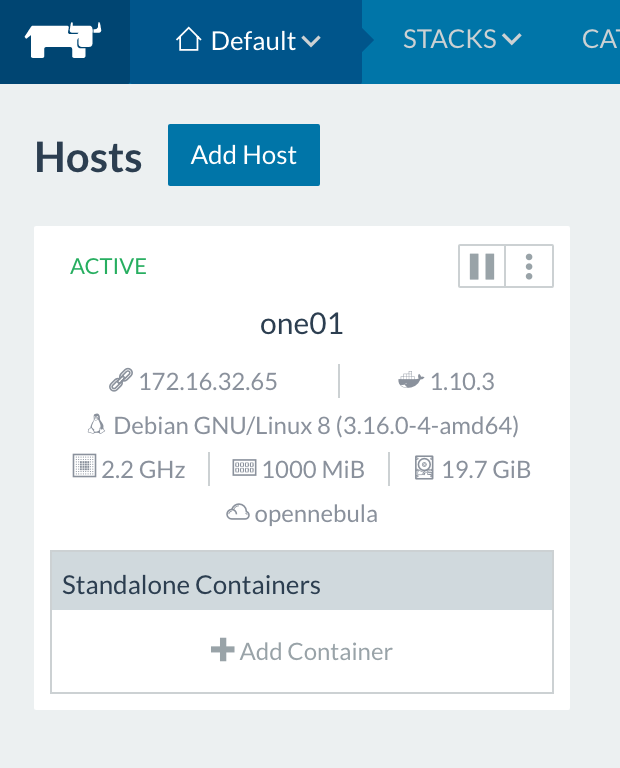
and then you can proceed to create the host. After few minutes, when the creation process is complete, you should get a screen with the active host.
Step 4 – Deploy a container
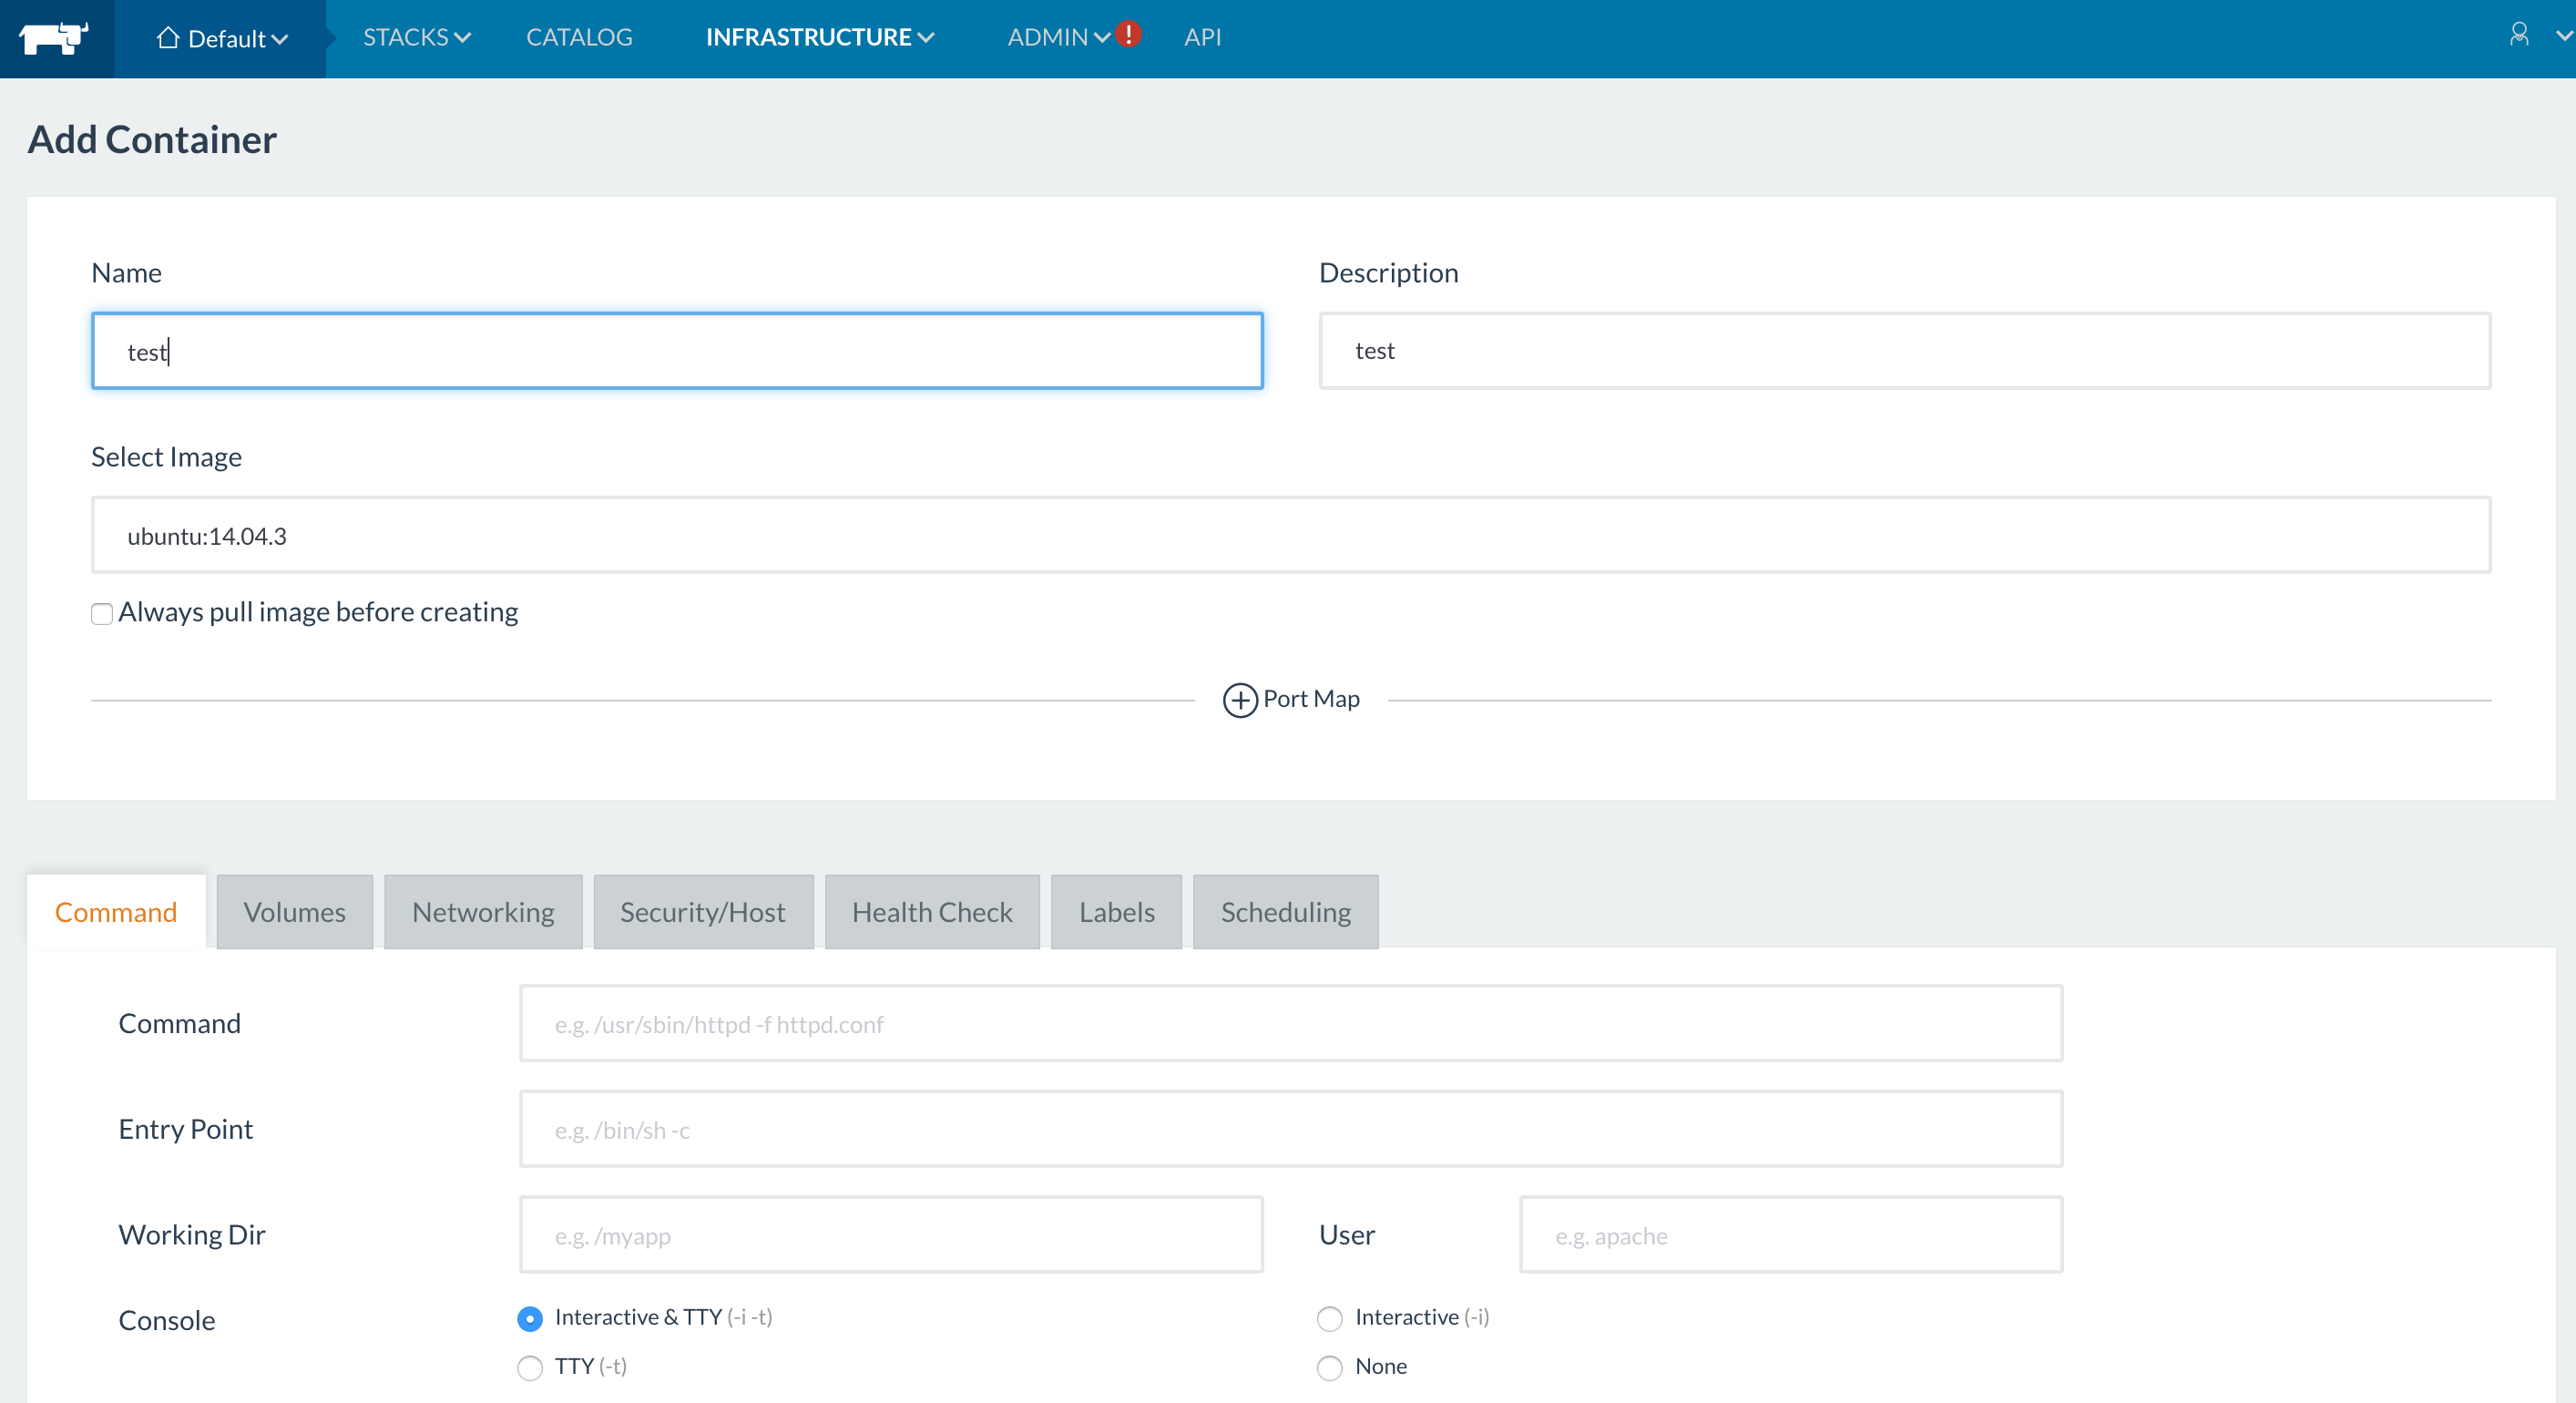
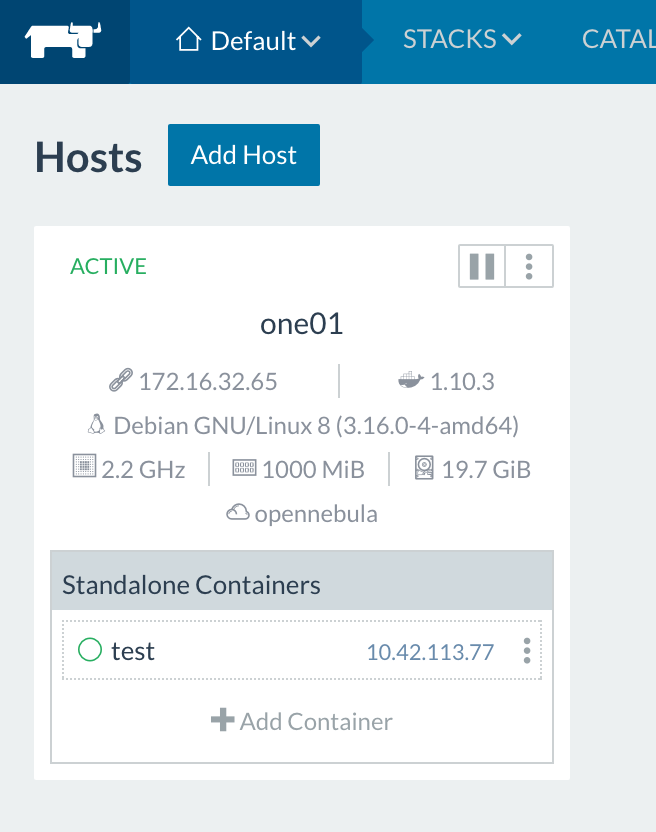
To test the environment, you can select the host and add a container:
That’s all, we will be back soon with another post about the integration of Rancher and OneFlow to deploy multi-tier services on OpenNebula clouds. Stay tuned!



Someone please contribute an OpenNebula logo for Rancher so people know what they are running on!
Hi Florian,
I have opened a PR on rancher community catalog, so the OpenNebula driver will be loaded when rancher is installed and it doesn’t need to be installed manually anymore; I have uploaded also an OpenNebula logo that should be loaded for the machine driver.