One of the powerful features that OpenNebula offers to those users willing to expand the resources of their data centers and put in place an elastic Private Cloud is Cloud Bursting. Cloud Bursting, or Hybrid Cloud, is a model in which the local resources of a Private Cloud are combined with resources from Public Cloud providers such as Amazon Web Services (AWS) or Microsoft Azure, or even from a partner infrastructure running a separate OpenNebula instance (this is what we call a One-to-One Hybrid Cloud).
OpenNebula has been supporting AWS and Microsoft Azure for several years now, but the Azure driver got somehow outdated when Microsoft released Azure Resource Manager. The previous version became then known as classic Azure, and it is now considered a legacy platform. These two existing deployments—Azure Resource Manager and classic Azure—are incompatible with each other. Their APIs are completely different, as well as the SDKs.
Following Microsoft’s recommendation, we’ve decided to update the Azure driver in OpenNebula to make it compatible with Azure Resource Manager. This new feature is already developed and will be released as part of the forthcoming OpenNebula v.5.12 (codename TBC).
In any case, the main concept remains exactly the same. Obviously, the cloud bursting feature comes with some limitations and does not provide as many configuration options and possibilities as a private instance of OpenNebula does, but still it might be useful in some cases in which one needs to add an extra layer of flexibility to your infrastructure. Anyway, our users will agree that it’s always nice to be able control all your resources—private or public—under a single interface 🙂
OK, enough theory! If what you want is to launch you first Azure VM from OpenNebula, there are basically three steps you have to follow:
Step 1: Enable the Azure driver in oned.conf
Just uncomment the following sections in oned.confand restart OpenNebula:
IM_MAD = [
   name       = "az",
   executable = "one_im_sh",
   arguments  = "-c -t 1 -r 0 az" ]

VM_MAD = [
     name       = "az",
     executable = "one_vmm_sh",
     arguments  = "-t 15 -r 0 az",
     type       = "xml" ]
Step 2: Create an Azure host
This might be a bit tricky as it involved authentication on the Microsoft Azure platform, which in the new Azure Resource Manager is completely different as it used to be before. You will need to register an application in the Azure Active Directory and obtain the following information:
- Subscription ID
- Client ID
- Client secret
- Tenant ID
Once you got them, run the following command:
onehost create azure_host -t az -i az -v az This action will open a pre-defined template in your editor, for you to complete with the right details.
Step 3: Create a VM Template with Azure definition
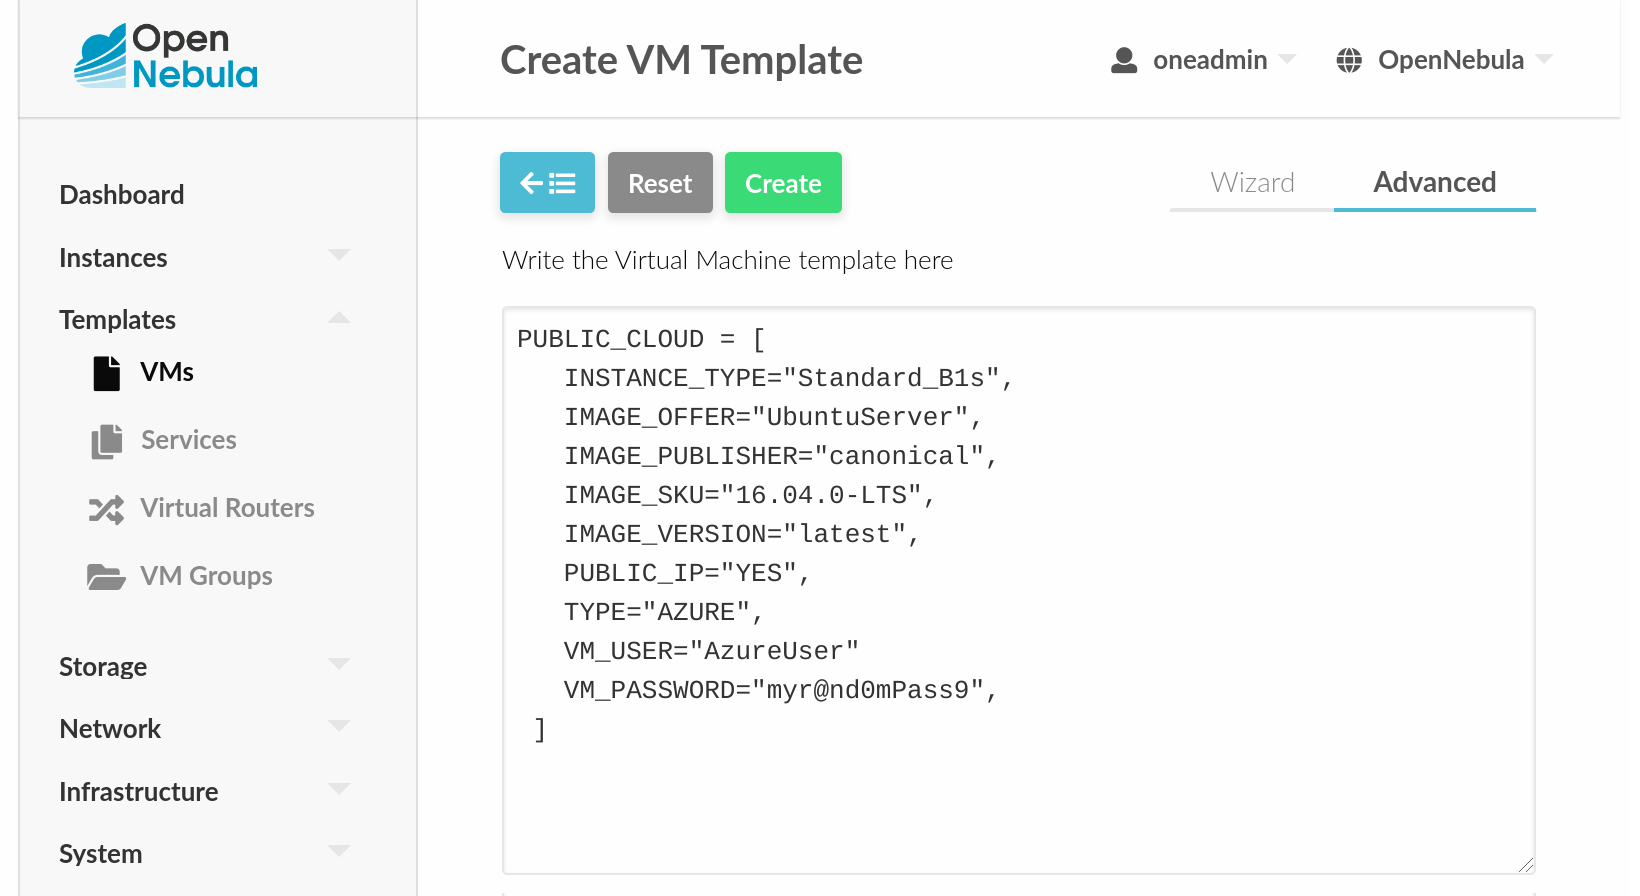
This final step is actually pretty easy. You need to define a PUBLIC_CLOUD section in the VM template and set the TYPE to AZURE. Also, you will need to specify several parameters. It could be something like this, for instance:
PUBLIC_CLOUD = [
   INSTANCE_TYPE="Standard_B1s",
   IMAGE_OFFER="UbuntuServer",
   IMAGE_PUBLISHER="canonical",
   IMAGE_SKU="16.04.0-LTS",
   IMAGE_VERSION="latest",
   PUBLIC_IP="YES",
   TYPE="AZURE",
   VM_USER="AzureUser"
   VM_PASSWORD="myr@nd0mPass9",
 ]
At this point, ensure your host was correctly monitored (onehost list) and run your Azure VM via CLI (onetemplate instantiate <template name>) or using Sunstone, OpenNebula’s GUI:

After that, you should be able to see your VM up and running in just a few seconds. Done! 😀 There are the basic steps, of course, so if you need to know further details don’t hesitate to have a look at the Azure driver documentation.
Any questions or issues? Let us know via the OpenNebula’s Enterprise Support Portal, the comments section (below), GitHub, or the Community Forum. Enjoy!


0 Comments