
miniONE is the easiest way to quickly deploy OpenNebula as a frontend-only instance or together with a KVM hypervisor. It provides a ready-to-use environment with options to customize parameters such as the password, enterprise token, OpenNebula version, and virtual network.
The environment can also be expanded by adding more KVM hypervisor nodes later if needed.
Deploy OpenNebula with miniONE
miniONE deploys OpenNebula with MySQL and a virtual network with NAT, providing a ready-to-use environment from the beginning.
It supports a variety of parameters, allowing you to choose between KVM and LXC, deploy only the frontend, adjust the virtual network settings, and specify a custom password, enterprise token, or OpenNebula version. You can also add more KVM hypervisor nodes later to expand the environment.
For example, you can deploy OpenNebula 7.4 with KVM and a custom password. Once the installation is complete, the credentials are displayed in the terminal and the environment is ready to use.
Access Sunstone and Launch a VM
Once the deployment is complete, you can access Sunstone, OpenNebula’s graphical web interface, and get an overview of the infrastructure from the dashboard.
miniONE automatically imports an Alpine Linux 3.20 VM Template, allowing you to launch a lightweight VM right away. You can also find ready-to-use operating systems and applications through OpenNebula marketplaces.
The Community Marketplace provides additional golden images from partners and community enthusiasts. From there, you can import EuroCopilot, an AI coding assistant serving a Mistral LLM through an OpenAI-compatible API.
After importing the appliance, you can adjust its resource allocation and application settings before launching the VM.
Connecting to the VM Network
The miniONE deployment creates a virtual network with NAT. Since the VMs don’t have public IP addresses, they can be accessed through the OpenNebula frontend.
To connect to the VM network directly, sshuttle can be used to establish access through the frontend.
Running an AI Workload
Once EuroCopilot is running, its web interface can be accessed using the URL and API key provided by the appliance.
We can start with a simple request, such as asking the model to explain a Python for loop, and then move on to a more complex task: generating code to parse a CSV file, iterate through its values, and print the results in the required format.
The model runs purely on CPU in this setup, so the more complex task takes longer to complete. In other environments, GPU acceleration from NVIDIA or AMD can provide significantly better performance and precision.
Finally, the generated code can be run against sample data to verify that the solution works as expected.
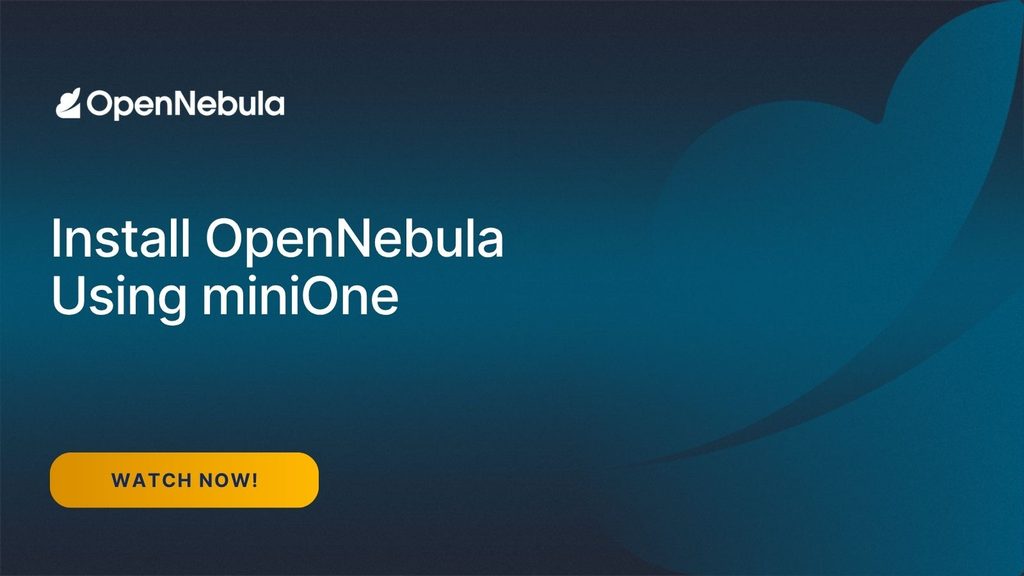
Want to see the complete process in action? Watch the screencast below to follow the installation of OpenNebula with miniONE, launch a VM, and deploy and interact with EuroCopilot.
Get Started with miniONE
miniONE provides a simple way to deploy a ready-to-use OpenNebula environment and start running virtual machines. You can then expand the environment with additional KVM hypervisor nodes as your needs grow.
Ready to try it yourself? Get started with miniONE and explore OpenNebula.

0 Comments